 |
|
 |
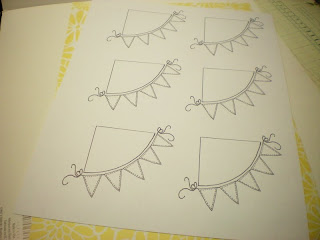
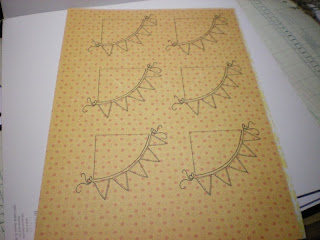
| Purchase your digital image and download it to your computer. If you are new to this, I would suggest downloading it to your desktop so it is easy to find. Most digital images come in a compressed zip file so you will need to right click on it and extract it. Then open up Microsoft Word, select insert, picture, from file, desk top, then open the file with your digital image in it, and select (or click on the image) to open it and the image will pop up in Microsoft Word. I then right click on it to copy, press the enter key so that the cursor goes down a row, and then I clicked on paste. I repeated this until my sheet is full of images. For this image, I put 6 on a sheet. I printed it out twice, once on white card stock, and again on designer paper. Then I saved this sheet that I had made up in Word to my digital stamp folder on my desktop so that the next time I want to use it, all I have to do is to open it and print it out Once you do the work of setting it up on a full sheet the first time, you can use it over and over. And of course, you don't have to use it with WORD, you can use it with other printing programs too. I used WORD today as most people have that program. |
 |
| This is the digital image I am working with today. |
 |
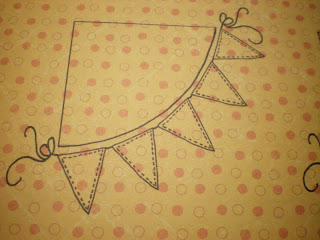
| Second print out on designer paper. |
 |
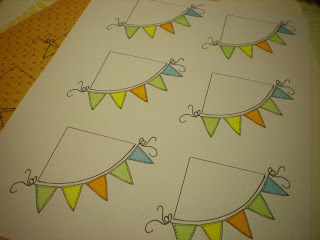
| I colored the pendants. Then I cut out the upper part of the image and glued it on the white card stock above the colored pendants. For best results, cut on the outer edge of the black lines on the designer paper so that it appears to be "stamped" on the designer paper. Next I cut out the entire image to put on my card. Wahla!!! You have a paper pieced digital image. I hope you enjoyed this tutorial. |
Click here to purchase yours!
http://www.snbshop.blogspot.com/


Oh my heavens.. this is amazing Elaine!! You did such a wonderful job on the paper piecing.. I just love the colors on your creation, and you explained it so well.. :) Thanks for picking my stamp to work with.. how fun! HUGS
ReplyDelete